Signing and Verifying of images in Harbor with Notation
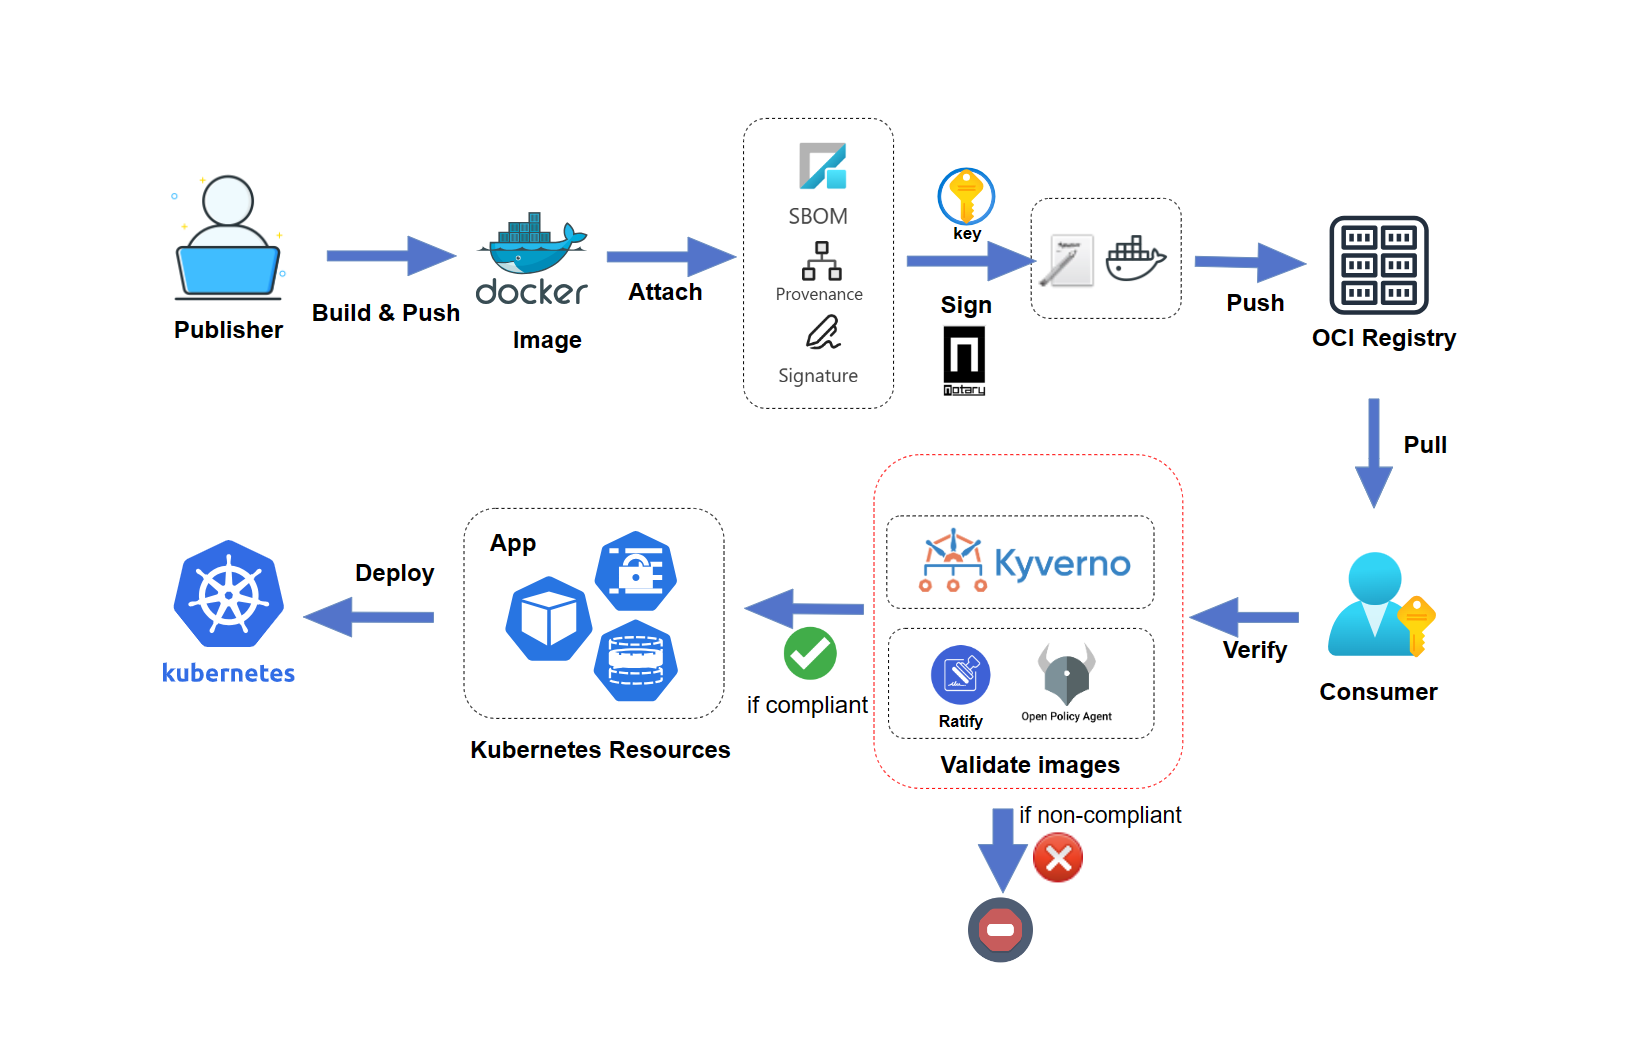
As container images and cloud native artifacts become common deployment units, users want to make sure that they are authentic in their environments.
From the software producer’s perspective, signing a software artifact enables their consumers to detect tampering and ensure authenticity of the artifact. Signing software can also increase trust when distributing software artifacts to consumers. From the software consumer’s perspective, verifying the signature of a signed artifact ensures its integrity and authenticity.
This article provides a step-by-step guide on signing and verifying an image within the Harbor registry using Notation. Signed images are allowed to be deployed to Kubernetes.
What is Harbor
Harbor is a registry that allows users to store and manage container images. It is open-source and self-hosted. It provides helpful features such as actively scanning images for vulnerabilities and alerting users of potential risks in real time. Harbor integrates content trust solutions, such as Notation, to help you sign images and verify that the images’ signature comes from a trusted source.
What is Notation
Notation is a standard-based tool and library for signing and verifying OCI artifacts. It generates signatures and associates them with OCI artifacts to ensure integrity for the supply chain. To use notation to sign and verify images we must first have it installed and configured.
This article will guide you through the following key processes:
- Setting up SSL certificate for HTTPS access to Harbor
- Installing and Configuring Harbor
- Installing Notation CLI
- Generating a Test Key and Self-Signed Certificate
- Signing of an image in Harbor using Notation
- Verifying image authenticity within the Harbor registry using Notation.
Prerequisites:
To follow this tutorial, you’ll need the following:
-
Docker Engine installed and running, for container management and Harbor authentication.
-
Docker Compose for your Harbor Instance.
Install Harbor and configure domain name
Harbor supports configuring http and https domain. For security consideration, we use https domain name in this article.
-
Prepare a registered domain name.
myharbor-registry.onlinewill be used as the domain name in this tutorial. -
Point a DNS record to the IPV4 address of your Harbor server.
Installing Certbot
To enable secure HTTPS access to our Harbor registry, we need to obtain an SSL certificate from a Certificate Authority. Certbot will be used to obtain an SSL Certificate from Let’s Encrypt.
Use apt or snap to install certbot.
sudo apt install --classic certbot
sudo certbot certonly --standalone -d myharbor-registry.online
After Certbot successfully obtains a certificate for your domain, it will provide the file paths where the certificate and key files are stored.

Please take note of these paths, as they will be required in a subsequent step.
Download Harbor
There are two ways you can install Harbor: Installation with Docker and Docker-Compose or with Helm on Kubernetes. In this tutorial, we are going to use Docker and docker-compose to install Harbor on an Ubuntu instance. For a guide on installing Harbor using Helm, please refer to the official documentation.
Download Harbor release package and extract it using the following commands:
wget https://github.com/goharbor/harbor/releases/download/v2.9.1/harbor-online-installer-v2.9.1.tgz
tar -xvf harbor-online-installer-v2.9.1.tgz
cd harbor
cp harbor.yml.tmpl harbor.yml
Configure Harbor domain
In the next step, update the harbor.yml file by setting the hostname to your domain name like in the example below:
hostname: myharbor-registry.online
Replace myharbor-registry.online with the domain name obtained from your domain registrar.
Next, under https update the path of cert and key files to where the certificate and key files are stored. For Example:

Run the Installation Script
Execute the Harbor installation script:
sudo ./install.sh
When successful, you should see a similar message like below:

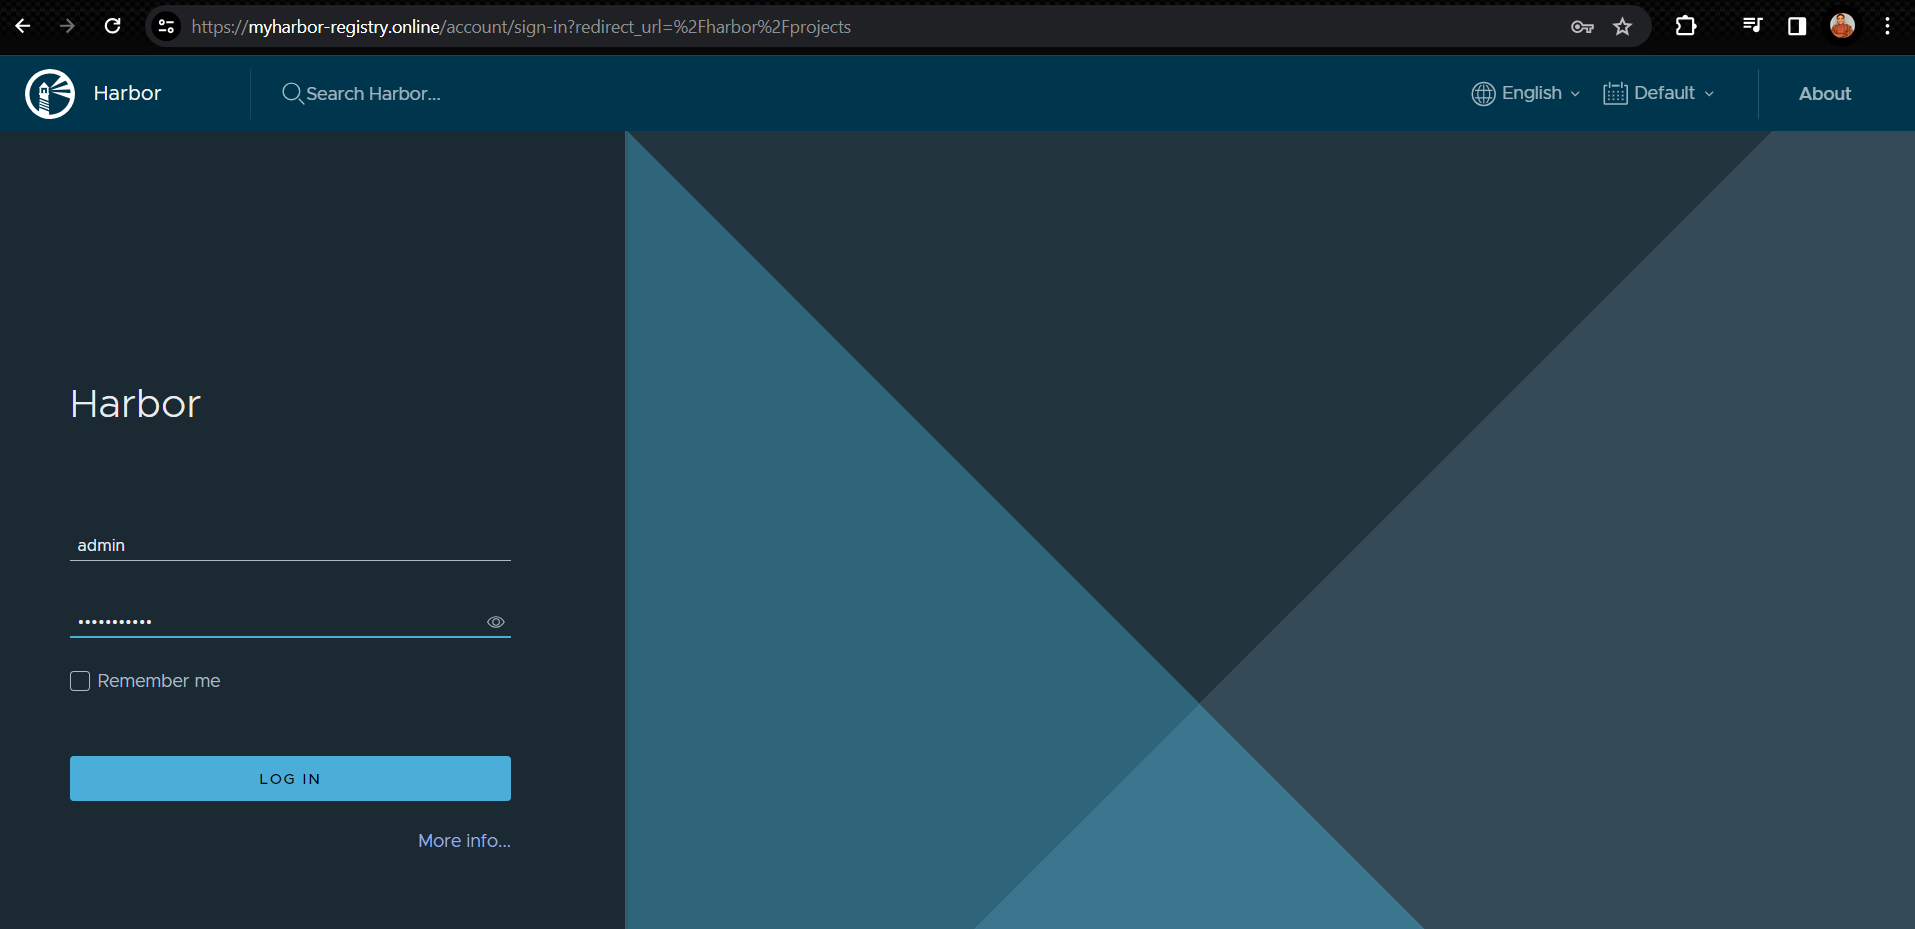
Log in to Harbor
Finally, log in to Harbor using the following Docker command:
docker login -u admin -p Harbor12345 myharbor-registry.online
Replace myharbor-registry.online with your domain’s address and navigate to https://myharbor-registry.online in your browser to access the Harbor login page, then login using the default Harbor credentials.
Install Notation CLI
Install the latest version on Linux. Follow the installation guide for other platforms.
brew install notation
Or for x86_64 processors:
export NOTATION_VERSION=1.0.1
curl -LO https://github.com/notaryproject/notation/releases/download/v$NOTATION_VERSION/notation_$NOTATION_VERSION\_linux_amd64.tar.gz
curl -LO https://github.com/notaryproject/notation/releases/download/v$NOTATION_VERSION/notation_$NOTATION_VERSION\_checksums.txt
shasum --check notation_$NOTATION_VERSION\_checksums.txt

sudo tar xvzf notation_1.0.1_linux_amd64.tar.gz -C /usr/bin/
Build and push an image to Harbor Registry
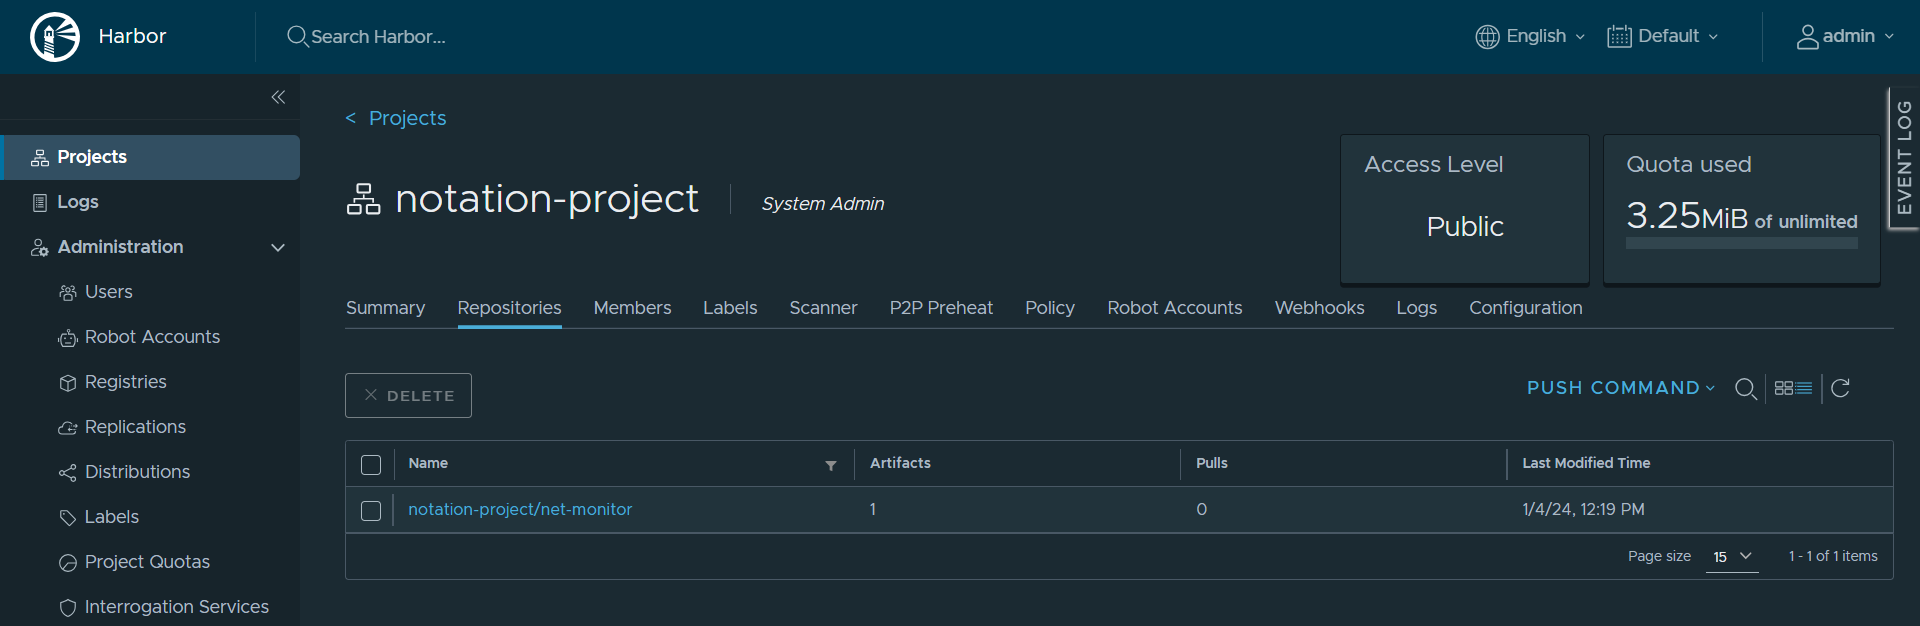
Before pushing an image to Harbor, create a new project on Harbor to store the image. Harbor organizes images into projects and you can set the visibility to either private or public. By default, there is a library project in Harbor. We will create a new project called notation-project for this tutorial.
Next, build and push the wabbit-networks/net-monitor container image to Harbor with the following commands:
docker build -t myharbor-registry.online/notation-project/net-monitor:v1 https://github.com/wabbit-networks/net-monitor.git#main

docker login myharbor-registry.online

docker push myharbor-registry.online/notation-project/net-monitor:v1
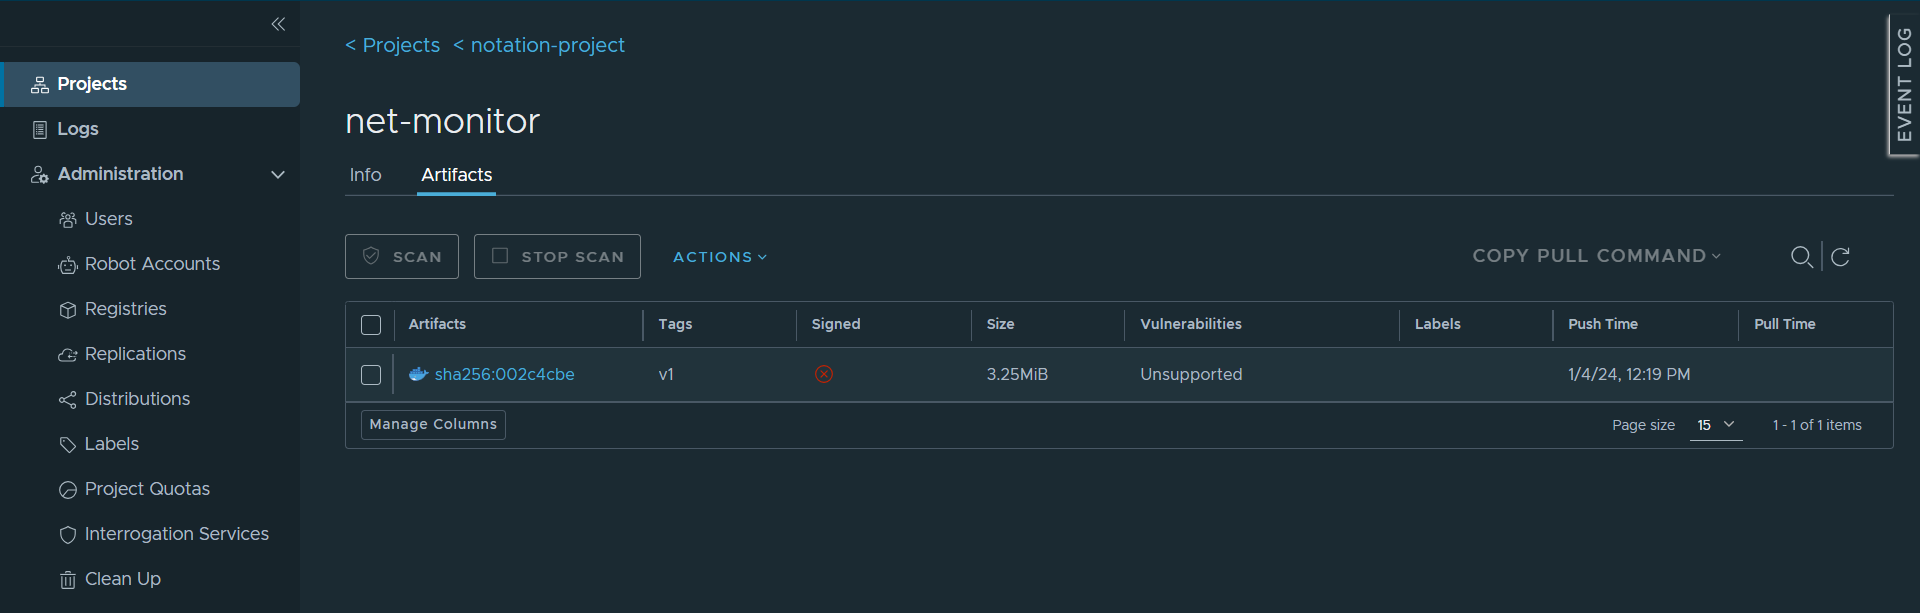
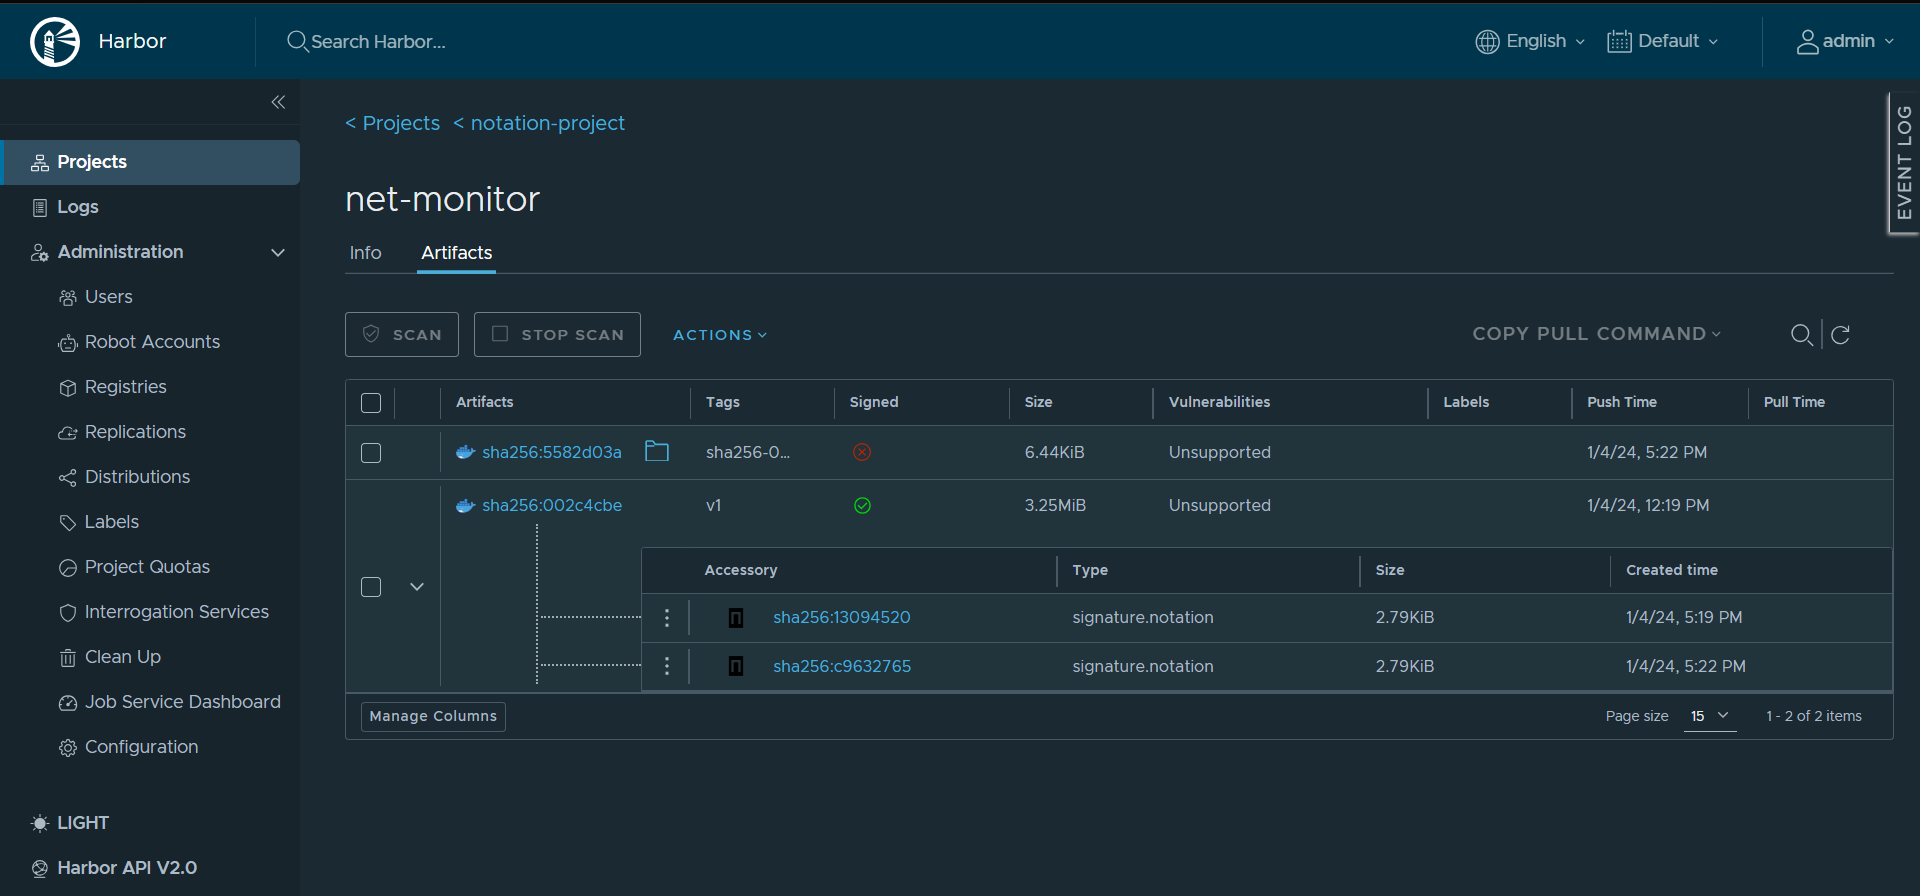
Click on the pushed image: notation-project/net-monitor the “Signed” section has a red mark indicating that the artifact is unsigned.
Create an environment variable for the image digest
After pushing the image, record the image’s digest from the output and use it to set an environment variable for easy referencing of the image.
For example:
export IMAGE=myharbor-registry.online/notation-project/net-monitor@sha256:002c4cbeffe0579eaa87a6bf4b64d554db32e6857098164ed3e03398262310f1
Generating a Test Key and Self-Signed Certificate:
Use notation cert generate-test to generate a test RSA key for signing artifacts, and a self-signed X.509 test certificate for verifying artifacts. Please note the self-signed certificate should be used for testing or development purposes only.
The following command generates a test key and a self-signed X.509 certificate. With the --default flag, the test key is set as a default signing key.
notation cert generate-test --default "wabbit-networks.io"
Confirm that the signing key is correctly configured and certificate is stored in the trust store using the following commands:
notation key ls
notation cert ls
Configure environment variables to authenticate to Harbor registry
Set the NOTATION_USERNAME and NOTATION_PASSWORD environment variables to authenticate to Harbor registry.
export NOTATION_USERNAME="YOUR_REGISTRY_USERNAME"
export NOTATION_PASSWORD="YOUR_REGISTRY_PASSWORD"
Learn more about authenticating with OCI-compliant registries in this documentation
Sign the image
Use notation sign command to sign the container image:
notation sign $IMAGE
Once the image is successfully signed, the signed status is updated to a green tick and corresponding signature has been pushed to the registry.
Create a trust policy
To verify the container image, configure the trust policy to specify trusted identities that sign the artifacts, and level of signature verification to use. For more details, see trust policy spec.
Create a JSON file with the following trust policy, for example:
cat <<EOF > ./trustpolicy.json
{
    "version": "1.0",
    "trustPolicies": [
        {
            "name": "wabbit-networks-images",
            "registryScopes": [ "*" ],
            "signatureVerification": {
                "level" : "strict"
            },
            "trustStores": [ "ca:wabbit-networks.io" ],
            "trustedIdentities": [
                "*"
            ]
        }
    ]
}
EOF
Use notation policy import to import the trust policy configuration from a JSON file. For example:
notation policy import ./trustpolicy.json
Verify the image
Use notation verify to verify signatures associated with the container image.
notation verify $IMAGE

You can also check the signature digest and inspect the signature and its certificate information to make sure the image is produced by a trusted identity.
notation inspect $IMAGE
Conclusion
In conclusion, this article demonstrated how to set up SSL certificate to allow HTTPS access to Harbor registry. You’ve also learned to install Notation, set up a test key, and generate a self-signed certificate.
The article walked you through the processes of signing and verifying images within the Harbor registry, ensuring the image integrity and authenticity in the software supply chain.